.svg)


You have optimized the layout of your first slide and you tell yourself that it will take you a long time to redo all the slides. A solution exists, slide masks. A powerful tool that can allow you to optimize your presentation for more unity. Fonts, colors, titles and logos, everything goes for a unique style and a presentation that is sure to leave an impression. We'll tell you how to do that right away.
Adding slide masks will therefore allow you to configure your presentation. These masks will control the appearance of your entire presentation from the first to the last slide. For example, you can insert a logo or an image on the mask and they will appear on all your slides.
Create a mask on Powerpoint
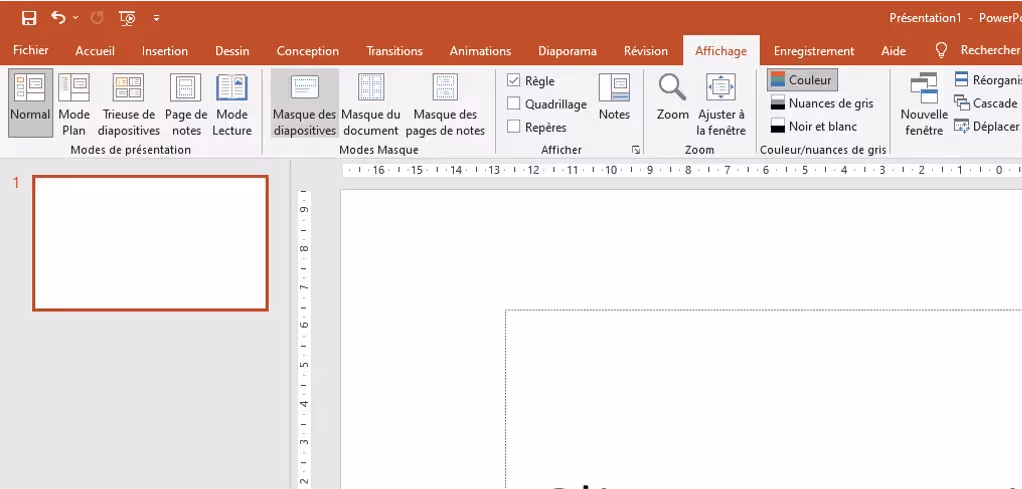
To get started, open your presentation. In the menu, select the tab “display” then “slide master” . You will see the various masks appear in the thumbnails panel (column on the left).
The first slide is the master slide. The templates below are the layout templates associated with it that make up the body of your presentation.
Make changes to text, colors, and alignments as you want. You can also delete masks or duplicate them. It is also possible to use pre-defined themes that will add style to your presentation. To find them, click on “themes” In the“slide master” tab.
1/ The color
Essential element, let's start with color first. A presentation with harmonious colors always has more effect than simple black and white slides, which are much more basic and bland. Let's not forget, our objective is to make an impression and to promote your work and ideas to your audience.
For this, using appropriate and harmonious colors is important, which should not be overlooked when creating the presentation. In order to perform this operation simply, without going through all the slides, you need to configure the color palette. To do this, simply go to the “display” tab, then select “slide master.”
Once in the “slide master” tab Select “colors” then at the very bottom of the dropdown menu select “customize colors”.
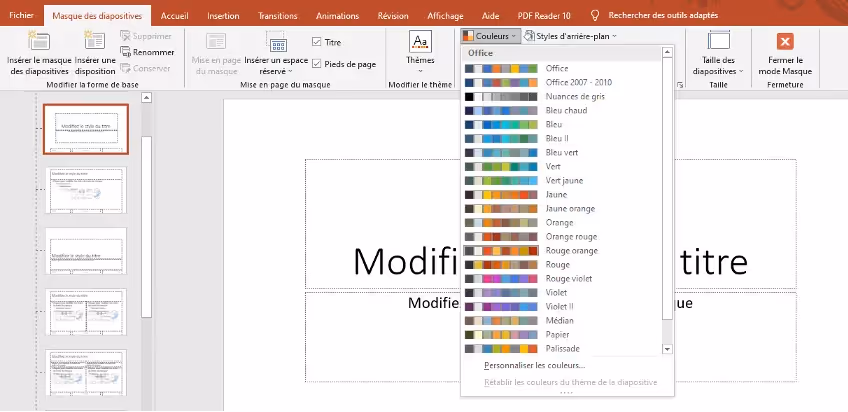
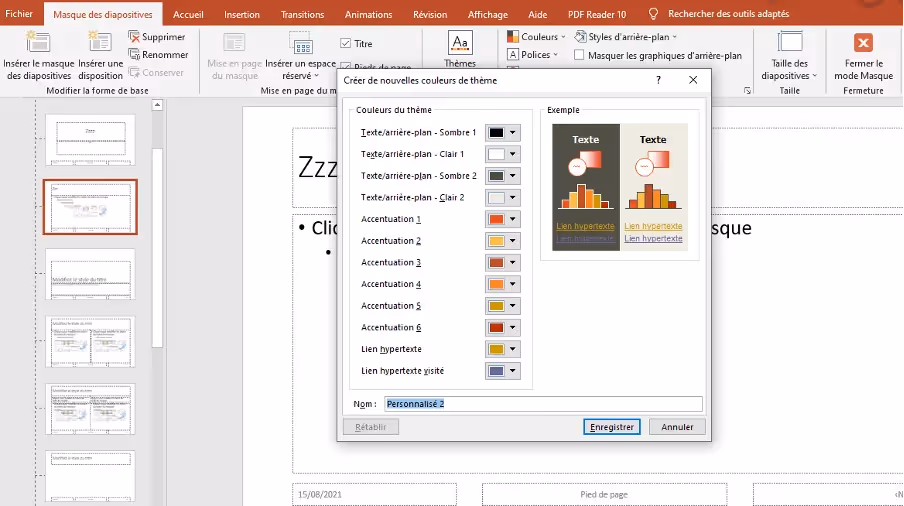
You can then configure all the colors of your presentation for a harmonious result.
2/ The police
Another essential element is the font you are going to use. During your last presentation, did you go through all the slides to make sure that the font you used was the same everywhere? Don't worry, this is the last time you do this since you will now be able to apply a combination of fonts that will be automatically present on all the slides in your presentation.
In In the “slide master” tab select “fonts” .
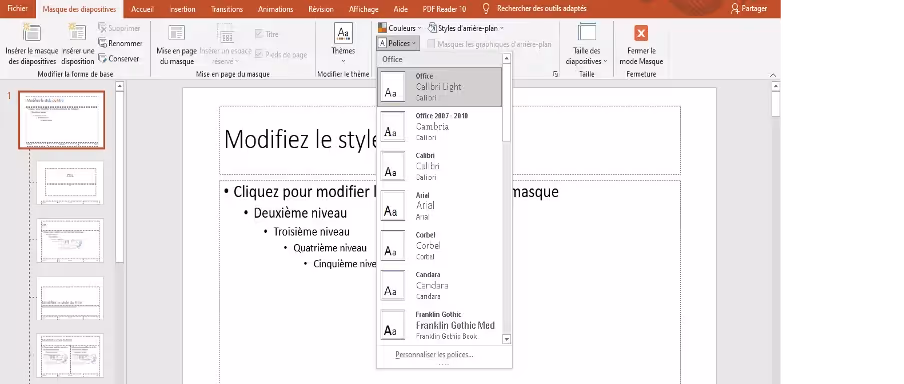
You can then use the combinations directly proposed by Powerpoint or select “font customization” at the bottom of the drop-down menu and thus manage your own selection for the fonts to be applied to the titles and for the body of the texts on your slides.
Once your masks are personalized and ready, to return to your presentation, click on “close mask mode”. You will then see that the slides you are going to create will be formatted according to the masks you have set up.
Integrate Powerpoint masks into an existing presentation
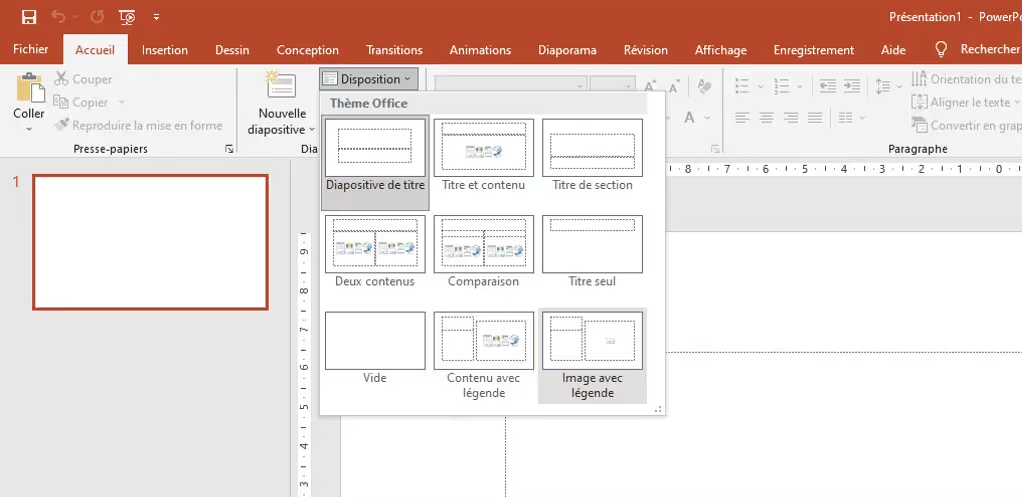
If you have already prepared your presentation weeks ago, don't worry, you can apply the masks. For this, in the “home” tab select “layout” and apply the mask you want to the selected slide. You can thus modify your entire presentation and give it the desired unity.
Slide masks now have no secrets for you and you will be able to make a strong impression in front of your colleagues with a presentation with an inimitable style.
Our articles in the same theme:
Presentation design consultant who transforms complex ideas into clear and compelling slideshows. Expert in PowerPoint (templates, advanced animations, infographics) with a strong eye for visual storytelling and brand consistency. Experienced working under tight deadlines, supporting executives and sales teams to create presentations that engage, persuade, and leave a lasting impression.
.avif)